How to plant Dutch irises
- How to plant Bulbs - Autumn planting bulbs
- 12 Jun 2019
-
110views
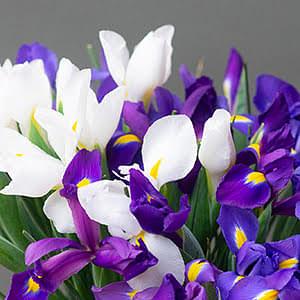
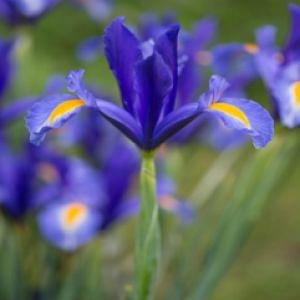
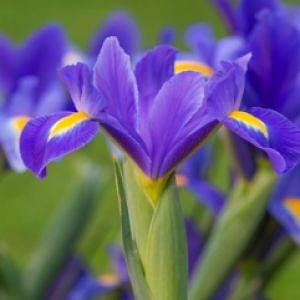
Dutch Iris should be planted approximately 15cm deep allowing around 20 per square metre. They thrive in moderately fertile, well-drained soil in full sun but they will take a little dappled shade.
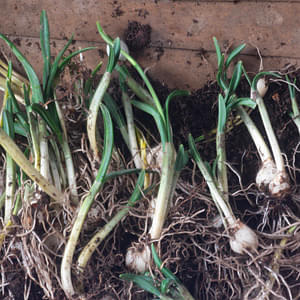
The foliage of Dutch Iris will appear from late winter at which point you can start to feed them with a high potash fertiliser such as liquid seaweed. To maintain the health of your bulbs, only cut back foliage once it becomes straw-like in appearance.
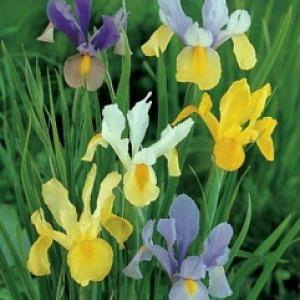
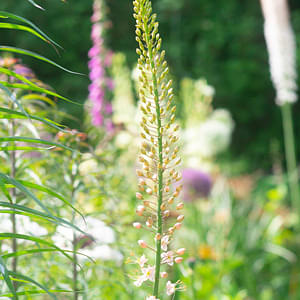
Dutch Iris are wonderfully easy to grow and flower in early summer. They combine beautifully with camassia and alliums or work well planted amongst grasses. They’re also an excellent cut flower.
Take care and use gloves when planting iris as they can cause irritation. They should not be eaten and are also poisonous for dogs and cats.
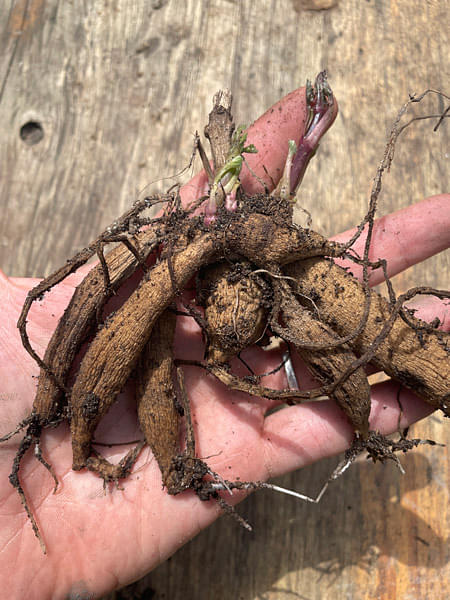
Unpack your bulbs on arrival and store in a dry place planting as soon as possible.
Potential problems, pests and diseases:
Iris can surer from fungus, virus or bacteria which affects the foliage as follows:
-
Leaf spot. Usually seen on the leaf as a sooty growth or spots which eventually turn brown with a yellow margin will cause the leaves to die off. Destroy any plants showing signs of infection
-
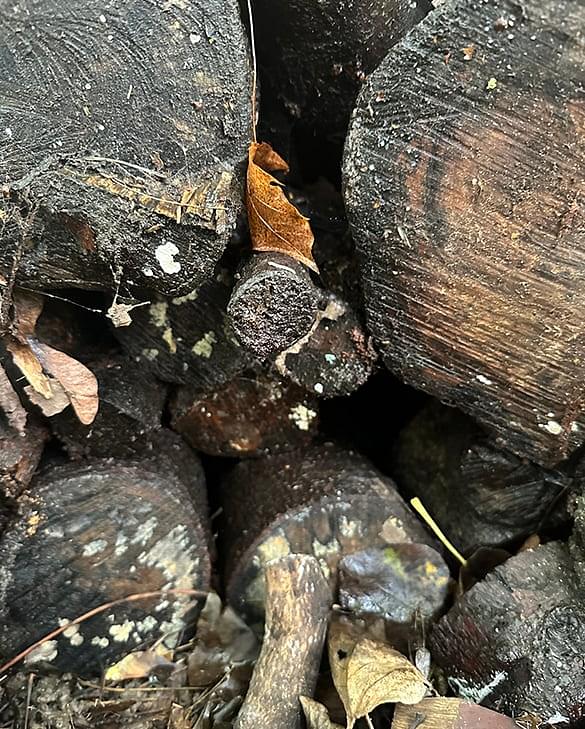
Ink disease. This can be seen on the bulbs as black botches which will cause the leaves to develop black botches then turn yellow. If your bulbs develop this disease, dig them out and destroy them. Avoid planting iris in that location for 2 years to ensure the infection has gone from the soil.
Slugs and snails will happily munch your iris apply sharp grit around the flowers to try and discourage this garden pest.